page background

Friday, November 11, 2011

My NEW living room!

~ I finished my living room. Took me a few months, but it's done. Here is what I did this afternoon.

Here it is painted the dark chocolate brown (roasted nut to be exact by Behr)and rearranged:


Looking into the dining room which is also the play room:


And here is the finishing living room wall photo look:


Next post will be my completed laundry room! Stay tuned.

Wednesday, July 6, 2011

Lowe's customer service and Jute Rugs

Two weeks ago while reading a decorating blog, I came across a picture of a jute rug that was on clearance at Lowe's. I fell in love with it and for $17.00, I could not complain! It would go well in my newly painted living room. It's the one on the right with the yellow flowers.


So, I went on the hunt. Supposedly, they were on order to a Lowe's warehouse, so I ordered one - cool! Well, alas, it never arrived.

I talked to Bellingham Lowe's flooring dept, Lowe's national customer service line and the manager of the Lowe's in Mt Vernon, trying to locate one. No one could since it is considered an In & out item which means I guess that they sometimes are in stores and then it could be months before they arrive again.

I am sad. But I am not sad at the customer service I received. Usually you always hear about the bad times, but let me just say, everyone I spoke with either in person or the phone were AWESOME to work with. They all tried their best and really helped me - they didn't pass me off to another person.

Thank you Lowe's for being helpful. Too bad I could not find the rug though, but I will keep trying. I will definitely come back to your store and shop and I will for sure tell people that you are great to work with!

Thursday, June 23, 2011

Painting the living room

Yes, two posts in one day, but that is the way things go around here.

This is what I am currently working on. Painting the burgundy paint a deep chocolate in our living room. I started out with 5 different samples and let me tell you, I am so glad I did. Some ended up with a green tint, others a black tint. Oh goodness. It was weird.

After much discussion, I am going with the chocolate color that is the farthest left. It's called roasted nuts and is the only one both Rick and I agreed on. It is probably not as dark as either one of us wanted, but it's a good choice. The pic was taken when all the paint was still wet, so it really doesn't look right.


And let me give credit where credit is due. Way back when, I had wanted to paint the lower burgundy portion a deep peacock turquoise color but then decided against that, since that would make my entire first floor some shade of blue. Then my dear husband said the following:

Why not paint it a brown color - like the color of dark coffee with just a touch of milk in it? Can I just say that I married the right man for me? It's like he understands me and my crazy creative brain.

It will be painted this weekend if all goes well.

Tile coasters - so easy

Last week, Ella finished school and I needed to find teacher gifts so I turned to this project that I had done over Christmas time. Oh my - easy and turns out great!

16 cent tiles that I make into coasters.

Here's what you need:

4x4 tiles from Lowes/Home Depot
Modge podge
pretty scrapebook papaer
craft paint
felt
glue gun
paint brushes
Acrylic spray paint

1. Paint the edges to cover the white tile.


2. Spread some modge podge on the tile front and lay a piece of paper down and carefull smooth out. It may creat some bubbles, so make your modge podge very thin. Let dry and repeat this step THREE times. You want three good layers of modge podge.


3. Spray THREE layers of acrylic paint outside or in your garage. Thin even layers work best.

4. Glue felt on the back of the tile.

5. Let the tiles sit for 4 weeks so that they can cure. Don't stack them on top of each other, otherwise they will dry together!

Once they are cured, they are ready to use for either hot or cold beverages! Of course, I put this porject off till the last moment, hence I forgot to take a pic of the final project.....oh well!

Wednesday, June 1, 2011

New picture art

Last month, I found a new website that was going live and because of that, they were offering a $40.00 credit if you signed up with their site. Of course, I did.

Paper Corterie (http://www.papercoterie.com) is an awesome website. They offer calendars, journals, stationary, posters, photo books, etc.....

Well, I decided to go with the 20x30 photo collage poster! I love it. What is so cool is the poster is vinyl so I can change the frame or put it directly on a wall or whatever! I framed it in a poster frame from Walmart (i.e. cheap) and hung it over our family room couch. I love how it looks. The pictures are each like 3x3 so you get a good look at each person's face.

take a look:


Saturday, May 28, 2011

Hanging her art

I am back - have been working on 3 different projects which I will show you over the next week. Here is the first:


I cute little board to hang projects that Ella brings home from school. Found an old board, painted it and then bought these really little clothspins and glued them with wood glue to the board. They are a little fragile but so cute!


Ella loves it and always wants to make things for me to hang :)

Thursday, May 5, 2011

Took a break

I have taken a break the last week on projects - just too many other things going on. That does not mean that I don't have a few projects rattling around in my head. What's on the list you ask/

Paint the living room
Make living room art
Try and finish Ella's twin quilt

Friday, April 22, 2011

The fields

Love April because we can go to the Tulip Fields - here's a pic of my hubby and me!

Tuesday, April 19, 2011

Living room art


Here's a sneak peek at what I am going to be working on for our living room wall. I have had this project in my mind for literally 2 years and finally am getting round to it. It might be a few weeks before the final art is done, but now that I have posted about it, it will be a motivation to finish!

Canvas - very large like 24x20 and then 12x24
spray paint
metallic art paint
stencil

Basically, I am going to create my own painted wallpaper on the canvas!

Monday, April 18, 2011

Pottery and Fused Glass

For my birthday (way back in January) Rick gave me a gift certificate to CreativiTea in Fairhaven (CreativiTea website). It's a tea shop/Pottery/glass shop and you make your own pieces of art. I am so excited. I went there really quick today to scope it out and I think I have it narrowed it down to two different things: either a charger pottery plate or a fused glass square plate - I am leaning towards to fused glass though :)

Check this place out and hey, if you think it looks good and want to come with me and have fun, drop me a line! Free Pot of tea on Thursday nights or free slumping on your fused glass on Wednesday's.

Sunday, April 17, 2011

Friday, April 15, 2011

Fun and cheap wall decor

For months I have been wanting to do some sort of framed art over E's bed, but everything just was not right, or more importantly, too expensive.

Then the light went off - frame scrapbook paper to match her bedspread! So, last month when Rick and I were in Seattle, I stopped at Ikea and got the three frames. I wanted something more chunky, not just a flat frame so hence, I bought more expensive frames. 1 - 11x14 frame and 2 - 8x10 frames


I found paper at JoAnn's and added the yellow ribbon around the larger mat to bring out the yellow. The green and pink paper are really pretty - already cut out so I added the yellow paper behind them to add more depth.

E is very happy and I like it so all in all, everyone is happy. Here are some before and after photo's.


Thursday, April 14, 2011

Skirt project


Let me share with you my latest project which i just finished this morning. I spent the last 3 nights sewing this skirt. I literally only sewed 15 minutes er night real quick and it was done.

I found this dress - size 3XL at Old Navy on clearnance for $2.00 - a perfect price for a guinea pig project.

I determined how long I wanted the skirt and then just cut off the top of the dress.

The dress was about 70 inches around. So alot of material but it really shrinks up with all the elastic thread. I bought elastic thread and wrapped it on a bobbin - I went through about 4 bibbins for this project - 2 spools total and I still have thread left.


Basically, I sewed around the waist 10 times, about 1/4 in apart. I just gently pulled the material a bit to the part I was sewing was flat as it went throughthe needle. As you cna see, when I got all the way around, I just back stitched and then cut the thread and tied knots. It looks ungle but no one will see it.


I'm thinking a black tank top with this skirt during the summer will look ok.

Wednesday, April 13, 2011

My "Happy" Room

Oh, when I finished my craft room, I could hear angels singing. I was SO HAPPY! It turned out exactly how I dreamed it would. Sometimes I have great ideas in my head but when I actually do them, they never are quite right.

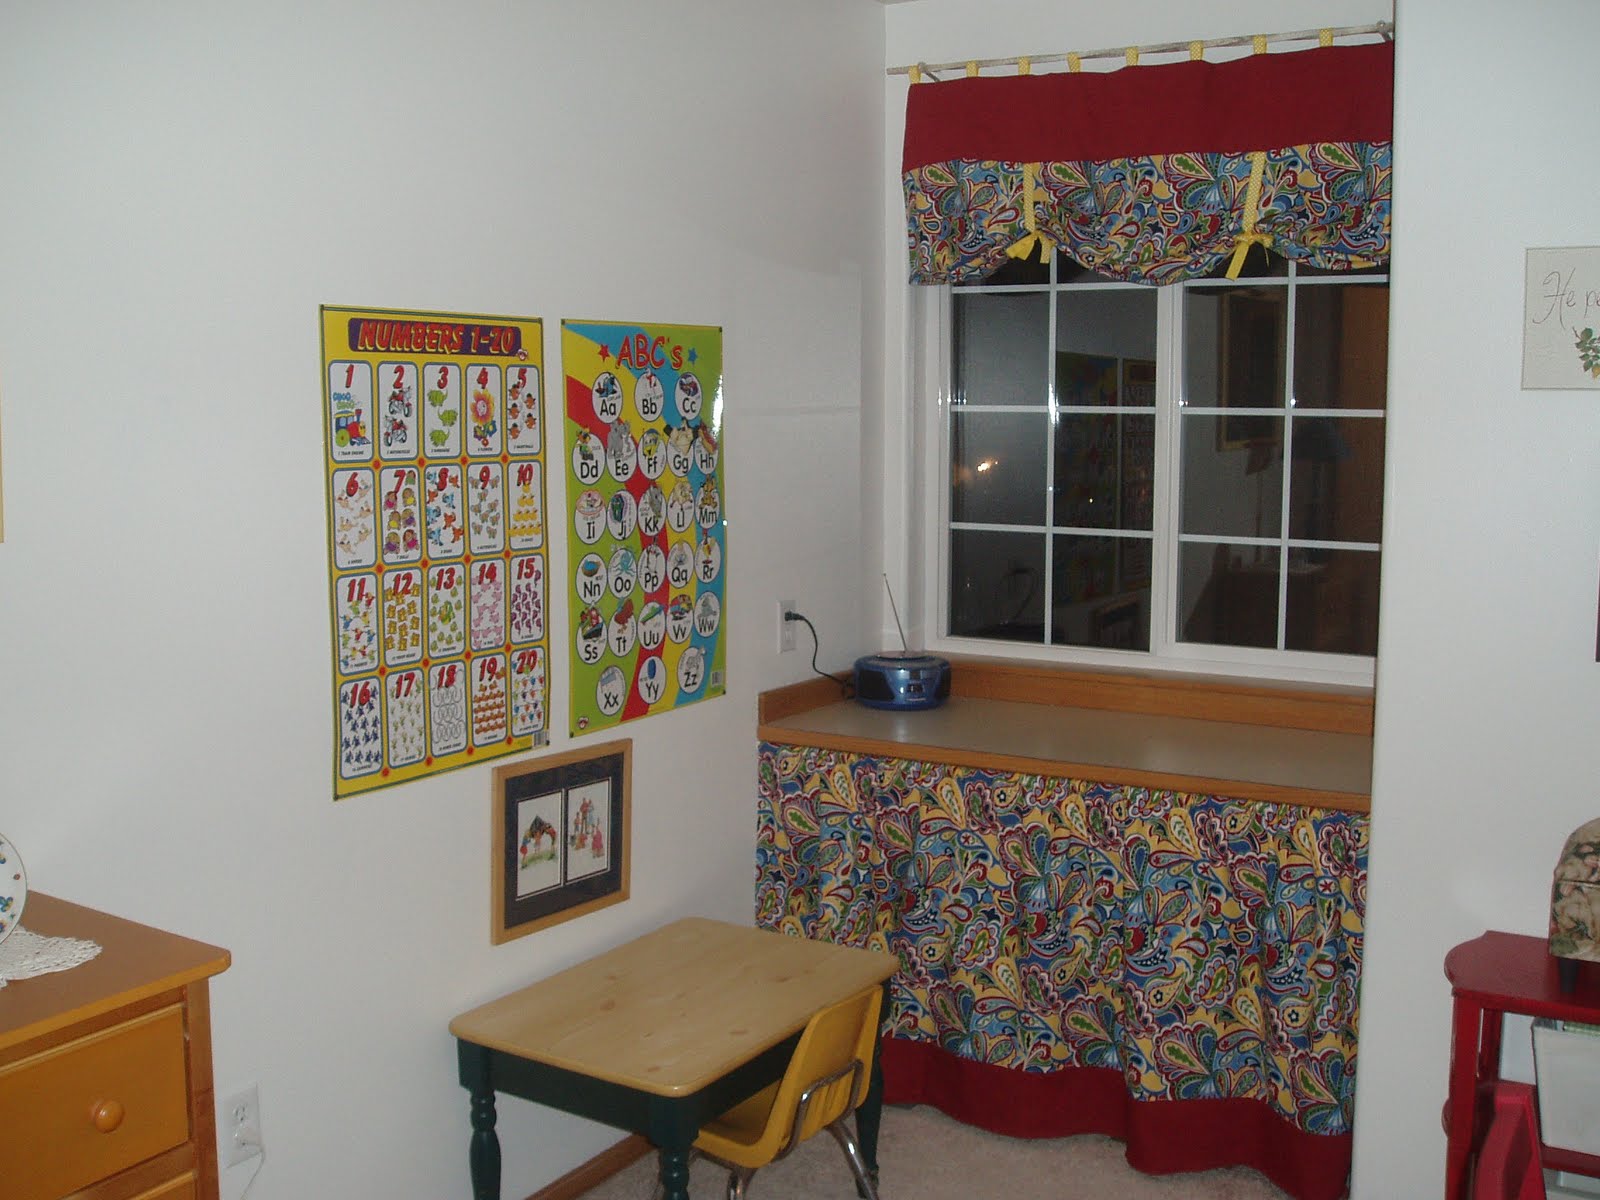
This piece of china from my Great-grandmother was my inspiration for the color scheme. I wanted happy, bright and cheerful. As you can see, I think the fabric was a perfect fit. I bought every last inch of it at Joann's and even then, I think it was less than 3 yards for everything.


I made curtains first and then a skirt to cover under the desk since I store stuff under there.


Then I wanted to make art for over my sewing table. The squares on the wall are styrofoam covered in scrap book paper and wrapped in black ribbon. Simple, easy and cheap.


And lastly, I painted a mirror I found at Goodwill and added the wooden embellishments on the top and bottom.


Last up, the chair I painted and made a seat cover for.


Honest truth now - does the room still look this clean now? Nope. That is life! But I still love it and enjoy sewing in there.

Next post will be about what I am sewing!

Living Room Drapes

Let me start by saying that I am a drape/curtain person. I have to have them on windows, otherwise I feel like the windows are bare and cold.

Our living room windows have been my challange since we moved in. They are floor to ceiling at roughly 130in. in height. Umm, not likely that I was going to buy that much fabric. Then I found sheer panel at Kmart that were 210inches long! So, I bought them, cut them to the desired length, and then made a pocket for the rods that I bought at Ikea and ........here you go!


I also did the dining room as well. Excuse the toys.... I'm not a big fan as to how these lay, but oh well. I am not about to get back up on that ladder to fix them right now.

Beginnings

The start of a new blog - always a hard thing to do.

I have another blog strictly for Post-Partum Depression and recovery stuff (www.livinglifejoyously.blogspot.com) and really wanted to start a blog where I could talk about life, what I am thinking about, decorating, sewing, all the crafts I do and to put up pictures of said projects, as a way for me to rememeber.

My sister says I don't blog enough, so I will try harder!